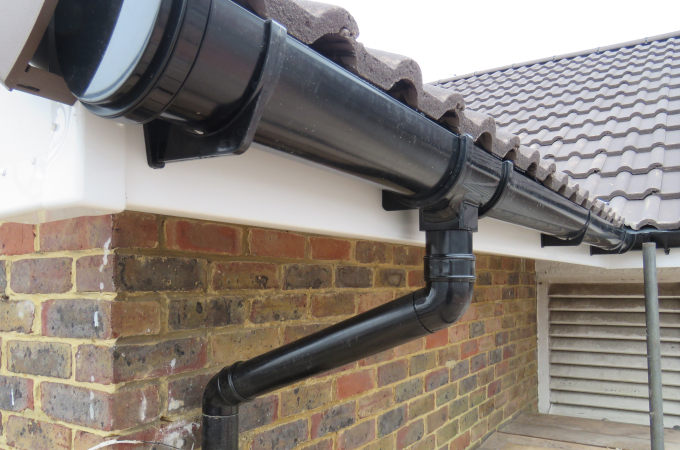
Contractors
Almost every homeowner knows that gutter cleaning should be a routine part of home maintenance, and while many people climb ladders a few times a year to scoop out leaves and other debris, very few take the time to properly clean their downspouts. Omitting this important step can lead to serious issues, but the guide below can make this job simpler, faster, and far more effective.
Step 1 – Choose the Right Time to Clean Your Downspouts
If you want to make this process as simple as possible, you need to choose the right time to clean your downspouts. Ideally, you should only start this task when the debris inside the gutter system is likely to be dry. Wet leaves and debris are more difficult to remove, and they are also quite a bit heavier, which can make the process far more tedious. Check the weather and clean your downspouts at the end of a dry streak that lasts several days for the best possible results.
Step 2 – Gather Your Materials
Cleaning downspouts isn’t always as simple as scooping out debris, so you may need a few special tools to get the job done. Gather the following:
- Buckets – A couple five-gallon buckets should get the job done.
- A ladder – If a clog is near the top of the downspout, a ladder will help you access it.
- A garden hose – After you’ve removed the clogs you can see, you will need to use a garden hose to flush the rest.
- A trowel – This will help you remove any small debris that is packed inside the downspout.
- Protective gear – Always wear a sturdy pair of non-slip shoes, thick gloves, and safety glasses to protect yourself.
Step 3 – Remove Debris from Downspouts (including the Strainers)
After you’ve put on your safety gear, start at the bottom of the downspout and look for any debris that is lodged inside. Just reach in and pull it out. If there are very small pieces that are packed in so tightly that you cannot pull them out by hand, use the trowel to clean them out. If you have strainers inside the downspout, make sure you take these out of your downspouts and clean them thoroughly. This will prevent more clogs in the future. If you don’t have strainers in your downspouts, GutterSupply.com recommends installing them. You can find a wide selection on our website in any size or style you might need.
Step 4 – Hose Down the Downspout & Check for Clogs
Now that you’ve removed the clogs and debris, carefully climb your ladder and flush the downspout starting at the top. If water flows freely, you have successfully completed the task. If it does not, there is likely a clog that you did not resolve in the previous step. You can use a bit of pressure from your garden hose nozzle to try to force the clog out, but if this doesn’t work, you may need to use a plumber’s snake, instead. Finally, once the water flows freely from top to bottom, reinstall the strainers.
Cleaning downspouts does not have to be a lengthy or difficult process, but it is a very important job if you want to ensure that water can move freely through your entire gutter system. Be sure that you are also taking the time to inspect downspouts for damage, and for the best possible results, repair or replace any downspout sections that require it before winter comes.